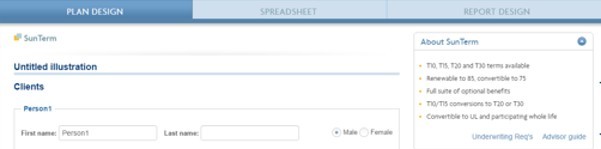
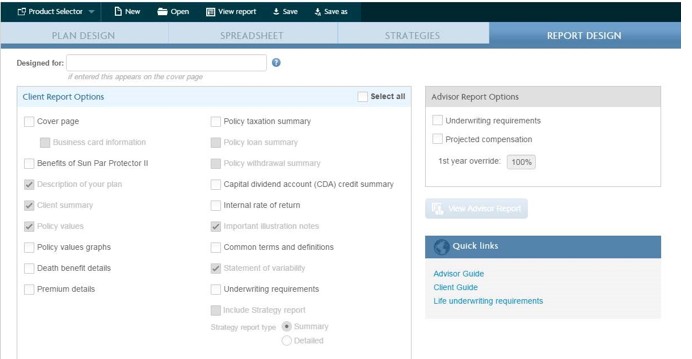
Underwriting Req’s and Advisor guide links out to Advisor site for the most recent product information
Change product
After creating an illustration for a specific product, you have the ability to change the product you’re illustrating. Changing the product carries over some of the information to the new product illustration. Typically, the information carried over is the client details and coverage amount. Additional details may be carried over when the change is between Universal Life products.
Changing the product uses the system defaults for anything that is not carried over from the other product and will not use your Default settings.
For example, if you’re illustrating a Sun Par Protector and you change to a SunUniversalLife II, the province will default back to the system default, which is Alberta. To use your Default settings, you need to start a new illustration by either clicking the New button or by going back to the Product Selector page and selecting the product.
Important! When changing the product, it’s important to review all the fields to confirm that the information is accurate.
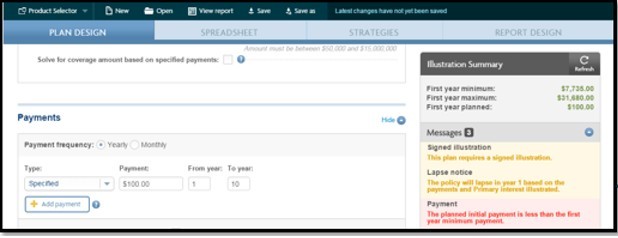
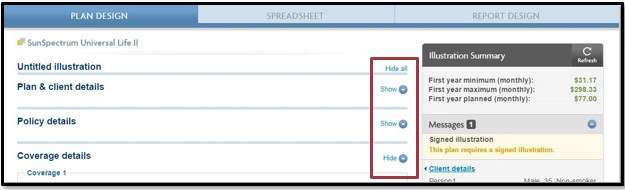
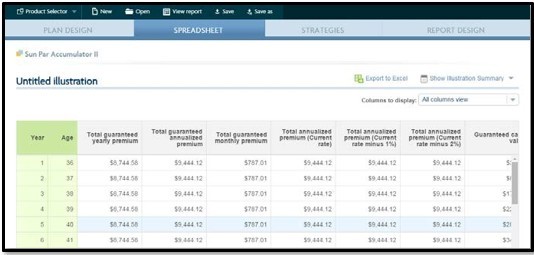
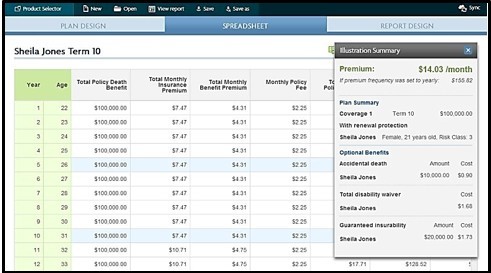
Illustration Summary
The Illustration Summary section displays what your premium will be and what options you have selected for this plan. As you select options, the Illustration Summary updates. You can use the Refresh button to recalculate the premiums when you have changed any options selected.